Showing posts with label vegetables. Show all posts

January 5, 2011

Chicken & Vegetables in Foil Packets


shiny vegetables and garlicky raw chicken! yay!

This is one of my favorite recipes to make, mainly because it's easy and healthy, but also because anyone I have ever made it for has absolutely loved it. The chicken is incredibly tender and moist, the vegetables are tasty and well-steamed, and the whole thing takes less than an hour. It's a perfect weeknight dinner.

I made it just a few days ago when I was still in Baltimore, so the recipe below is designed to serve four people (one packet per person). The great thing about cooking chicken and vegetables in foil packets, however, is that it is easily customizable to the number of people you want to feed.  I've made this with all sorts of different vegetable combinations (you don't have to limit yourself to the vegetables I've used) and it would also be delicious made on the grill in the summer. I served this with quinoa on the side, but you could easily use rice or couscous, too. The food tends to be really juicy when it comes out of the packet, so having something on the side to catch all the flavor enhances the dinner as a whole, I think.

I really approximated the amounts I used in this recipe, so if you're the kind of person who wants exact measurements, this may not be the one for you. I find that this recipe lends itself to a bit of experimentation, so try different amounts of seasoning, oil, or flavor and see what works.  When I've made chicken in foil packets in the past, I've marinated the chicken in about 3/4 of a cup of Italian salad dressing, which also works well.

Chicken & Vegetables in Foil Packets
total time: 1 hourish but can be more, depending on how long you want to marinate the chicken
total hands on time: 10ish minutes

4 chicken breasts
4 large (about 2 feet long) pieces of aluminum foil
1 container of grape or cherry tomatoes
3 shallots or 1 onion, sliced
2-3 small red potatoes, diced
2 cups of snap peas
1 leek, sliced
1 lemon, quartered
olive oil
balsamic vinegar
seasoning mix
salt and pepper to taste

For marinade:
olive oil
seasoning mix
lemon juice
garlic

1. Marinate chicken for at least one hour in your chosen marinade. For this recipe, I rubbed the four chicken breasts in salt, pepper and garlic, then marinated them in olive oil mixed with rosemary seasoning and a splash of lemon juice. The marinade shouldn't completely cover the chicken, but you can flip the pieces from time to time so everything gets flavored.


2. Preheat oven to 450.

3. Prepare vegetables by slicing, dicing, and chopping. Combine in one bowl, add a few glugs of olive oil, and a few tsps of balsamic vinegar. Mix to coat. Add in salt, pepper, and the seasoning mix of your choice; mix and make sure all of the vegetables are well-coated and well-seasoned.


4. Place one chicken breast in each length of foil. Cover chicken with 1/4 of vegetable mixture, letting the vegetable mixture spill out onto the foil. Squeeze one quarter of lemon on top of chicken and vegetables, then place on top to bake inside the packet.


5. Fold the packet over itself (as seen). You should have a large square with the food in the middle, but with plenty of room on all sides. Fold the edges of each packet carefully to create a tight seal on each edge.


6. Place packets in oven and bake for 30-35 minutes. Be careful when taking out of the oven. To open to packet, simply cut a slit with a knife or take apart one of the sealed edges.


7. Pour contents of packet onto a plate (take out the lemon, of course) and eat!

December 13, 2010

Briami: Roasted Vegetable Casserole


This is really delicious Greek dish I ate when I was babysitting the other day. I loved it so much I left the house of the family I was babysitting for and went right to the grocery store to buy the ingredients to make my own. There were a myriad of recipes for briami online, but none of them seemed close to what I had just eaten, so I kind of made up my own version, adding the tofu for extra bulk and protein. You can easily omit the tofu if tofu is not your thing.

Briami
hands on time: as long as it takes you to chop a bunch of vegetables
total time: about an hour and a half

2 zucchini
1 small eggplant
2 small potatoes
2-6 tomatoes, depending on size (I had small ones and ended up using like 5)
1 block (package) of extra firm tofu
italian seasoning
olive oil
breadcrumbs

1. Preheat oven to 350, grease baking dish.
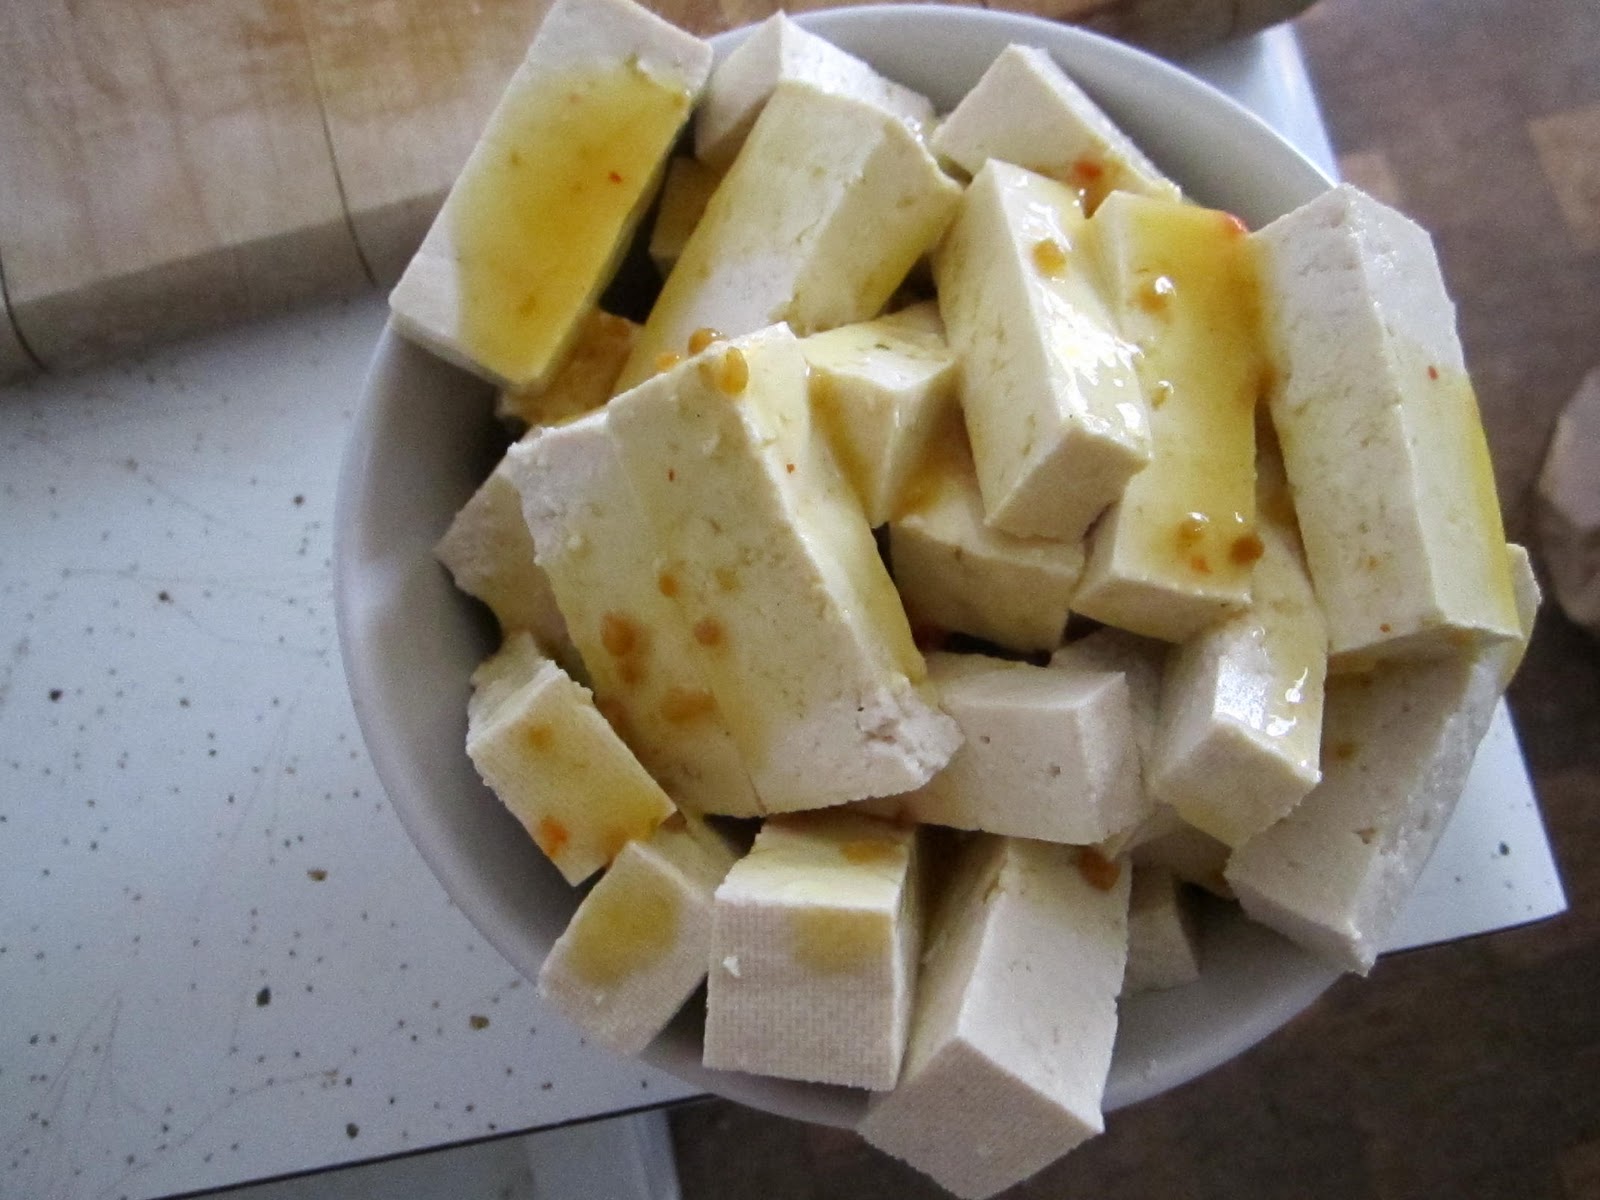
2. Slice the tofu into bite-sized blocks. I marinated it in some Italian dressing for a little bit (30 minutes?), but I think salt and pepper would be fine as well.


3. Slice all of the vegetables very thinly lengthwise (see pictures).
4. Layer vegetables and tofu in oblong glass baking dish; the order you layer them in is up to you, but I went with eggplant, zucchini, potato, tofu, eggplant, tomato. I think it would work well to distribute the tofu throughout the layers, as well.


5. Be sure to generously drizzle olive oil over each layer. I also used a sprinkling of Italian seasoning (basil, oregano, red pepper flakes, etc) over the layers.

check out the tofu peeking out from under the eggplant


6. Bake for 30 min at 350.
7. Take the briami out of the oven and liberally sprinkle bread crumbs on it, until vegetables are covered.


8. Bake for another 30-45 minutes. The idea is to really roast the hell out of this, so that the vegetable layers kind of melt and collapse into one another.

I am an incredibly lazy chopper/slicer of vegetables, so this probably would have turned out better had I spent a bit more time making the layers even and thin. I ended up slicing too much eggplant and that's why there are two eggplant layers, something I don't recommend. I do, however, recommend having  two tomato layers, so you may have to amend this recipe to include even more tomatoes.

This was a bit dry right out of the oven, but the flavors really begin to meld and develop over time, i.e. overnight. It keeps really well in the fridge and is perfect to heat up for a hearty winter lunch. I ate it for dinner sprinkled with parmesan and then for lunch the next day sprinkled with feta. 

June 3, 2010

Swiss Chard Quiche

My trip to Central America has been significantly delayed due to the eruption of the volcano Pacaya in Guatemala, as well as tropical storm Agatha, so I've been hanging out in Baltimore for a bit longer than I originally planned. Check out the sinkhole caused by the storm in Guatemala City:


!!!!!!!!!!!!!!!!!!!!!!!!!!!!!!!

Luckily, I anticipate spending most of my time in Guatemala in the city of Antigua, which is (so far) sinkhole-free. Since I've had a longer stay in Baltimore, I've had more time to cook, and I have successfully converted my family to liking swiss chard. Last night, I made an onion-chard quiche for dinner; I'm a big fan of quiches because they're easy and easily customizable. Quiche also seems appropriate at any time of day; it's not at all like eating a hamburger at 9 am, which always feels weird to me. If you eat a quiche at 9 am, it feels like breakfast. If you eat it at 7 pm, it feels like dinner.


Swiss Chard Quiche

Ingredients:
3 eggs
1 (to 1.5) cups of grated cheese (I used a mix of cheddar and some weird artisanal sundried tomato cheese I found in the fridge)
1 cup milk
3/4 bunch of swiss chard, chopped
3/4 onion, chopped
1 pie crust
couple tablespoons of olive oil
splash of lemon juice
salt and pepper to taste

1. Finely chop the onion and cut the stems off of the chard. Saute in the oil until soft, 5-7 minutes or so.
2. Roughly chop the chard into bite size pieces, add to the pan.
3. Add a splash of lemon juice, cook until chard is fully wilted; it will become much smaller and a much darker green. I added salt, pepper, and garlic powder here, as well.
4. As the chard wilts, blend the milk, eggs and cheese together in a bowl.
5. When the chard is done, stir it into the eggs mixture.
6. Pour mixture into pie crust.
7. Bake at 375 for 35-40 minutes.


8. Let the quiche sit a few minutes before cutting.

We ate the quiche with a tomato, avocado and parmesan salad. This recipe could easily be modified by using spinach in place of chard, leeks in place of onions, adding green onions on top, adding fresh basil, adding tomato, adding green peppers, adding cooked bacon, adding broccoli, you get the picture. Basically, you can modify this recipe to suit your particular tastebuds, using any vegetables you want; just saute them a little before you add them to the egg mixture. I should add I've made basically the exact same quiche without a crust, so if you don't have a pie crust or just want a lighter version of the recipe, it's just as good without. This quiche tastes even better the next day, especially for breakfast.

LinkWithin

Related Posts Plugin for WordPress, Blogger...